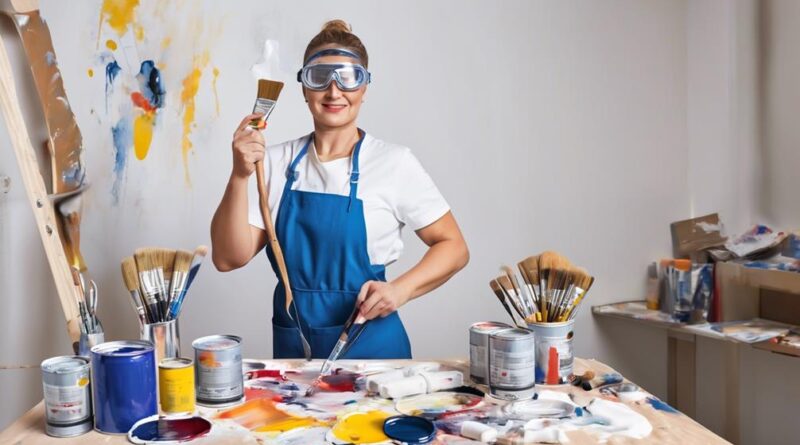
Why Opt for DIY Home Improvement Painting?
This post may contain affiliate links which means I may receive a commission for purchases made through links. As an Amazon Associate, I earn from qualifying purchases. Learn more on my Private Policy page.
Are you tired of staring at the same old walls and longing for a fresh new look to liven up your living space? You might be considering hiring a professional painter, but before you do, have you ever thought about taking on the challenge yourself?
DIY home improvement painting can be a cost-effective and rewarding way to transform your home, but there are a few key factors to consider before diving in. From choosing the right colors to mastering the proper techniques, there's a lot to explore when it comes to achieving professional-looking results on your own.
Choosing the Right Paint Colors
When selecting paint colors for your home, it's important to consider the mood and atmosphere you want to create in each room. Color psychology plays a significant role in how different hues can affect your emotions and behaviors. For example, warm colors like red, orange, and yellow can create a cozy and energetic atmosphere, while cooler tones like blue and green can evoke a sense of calm and relaxation. Understanding the psychological impact of colors can help you choose the right palette for each space in your home.
Color coordination is another crucial aspect to consider when choosing paint colors. A well-coordinated color scheme can tie the different rooms in your home together, creating a sense of flow and harmony. One popular approach is to use a neutral color as a base and then incorporate pops of bolder colors as accents. This technique can help maintain a cohesive look throughout your home while still allowing for some creative expression in each room.
When selecting paint colors, think about the function of the room as well. For instance, in a home office, you might want to choose colors that promote focus and productivity, such as soft blues or greens. In a bedroom, soothing and calming colors like lavender or light grays can create a peaceful atmosphere conducive to relaxation. By considering color psychology and coordination, you can transform your home with the perfect paint colors that align with your desired ambiance for each room.
Preparing the Surfaces for Painting
After choosing the right paint colors to create your desired ambiance, the next step in your DIY home improvement painting project is to prepare the surfaces for painting. This is a crucial step that ensures a smooth and long-lasting finish.
Start by thoroughly cleaning the surfaces to remove any dirt, grease, or mildew. Use a mild detergent solution and a scrub brush to clean the walls, and then rinse with clean water. This step is essential for the paint to adhere properly to the surface.
Next, inspect the surfaces for any imperfections such as cracks, holes, or uneven areas. Use a fine-grit sandpaper to smooth out these imperfections and create a uniform surface for painting. Sanding also helps the primer to adhere better to the surface, ensuring a more professional finish.
Once the surfaces are clean and smooth, it's time to apply a primer. Primer helps the paint to adhere better, provides an even base for the paint, and can also help to hide any existing stains or colors on the walls. After applying the primer, allow it to dry completely before moving on to the next step.
In some cases, especially with porous surfaces, it may be necessary to apply a sealing coat before painting. This helps to prevent the paint from being absorbed unevenly by the surface, resulting in a more consistent and vibrant color.
Once the surfaces are cleaned, sanded, primed, and sealed (if necessary), they're ready for the final step – applying the paint.
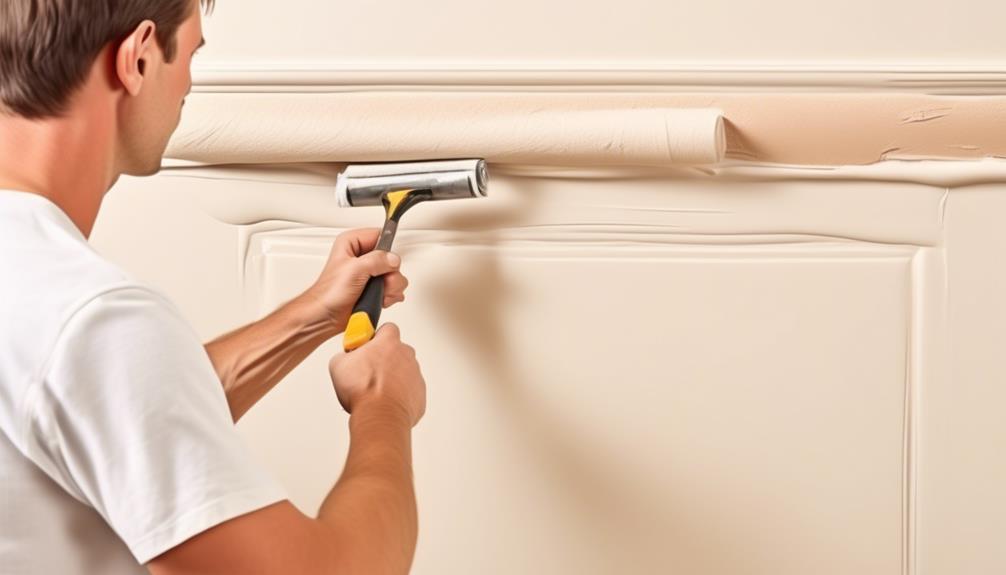
Selecting the Appropriate Painting Tools
To achieve a professional finish, it's crucial to select the appropriate painting tools for your DIY home improvement project. When it comes to choosing painting tools, quality matters. Investing in high-quality brushes and rollers can make a significant difference in the outcome of your painting project. Look for brushes with densely packed, fine bristles for smooth and even application. For rollers, opt for ones with a thick nap for textured surfaces and a thinner nap for smoother surfaces.
In addition to quality, proper maintenance of your painting tools is essential for achieving the best results. Clean your brushes and rollers thoroughly after each use to prevent paint buildup and ensure that they remain in good condition for future projects. Proper tool maintenance not only extends the lifespan of your painting equipment but also helps in achieving a flawless finish.
Equally important as choosing the right tools is using the proper technique. Take the time to learn the correct way to load paint onto your brush or roller, as well as how to apply it evenly onto the surface. Proper technique not only ensures a professional finish but also minimizes wastage of paint and saves time and effort.
Applying Primer for Better Results
Consider applying a primer to enhance the adhesion and durability of your paint, ensuring a smoother and more long-lasting finish. Choosing the appropriate primer is crucial for achieving the best results. Before applying the primer, it's essential to prepare the surface properly.
This involves cleaning the surface to remove any dirt, grease, or mildew, and then sanding it to create a smooth and uniform texture.
When it comes to primer application, ensure that the conditions are suitable. It's best to apply primer in dry weather with moderate temperatures to allow for proper drying. Additionally, make sure to stir the primer thoroughly before use to achieve an even consistency.
Apply the primer using a brush, roller, or sprayer, depending on the size and nature of the surface. Be mindful of achieving even coverage to promote paint adhesion and prevent any potential issues such as peeling or flaking.
The use of primer significantly improves paint adhesion, especially on porous or challenging surfaces, such as bare wood, metal, or previously painted surfaces. Furthermore, primer creates a uniform base for the paint, allowing it to showcase its true color and finish.
Techniques for Achieving Smooth Finishes
To achieve a smooth finish, it's essential to master proper painting techniques, building on the enhanced adhesion and durability provided by the primer.
Firstly, brush selection plays a crucial role in achieving a flawless paint job. Opt for high-quality brushes with fine bristles for better control and smoother application. A tapered brush works well for cutting in edges and corners, while a wider brush is ideal for larger surface areas.
When it comes to paint application, the key is to use a technique that minimizes visible brush strokes. Start by loading the brush with an ample amount of paint, but avoid overloading to prevent drips and uneven coverage. Use long, smooth strokes and maintain a consistent pressure to ensure an even layer of paint. Additionally, it's important to work in smaller sections to blend the paint seamlessly.
Always finish each section with light, overlapping strokes in the same direction to create a uniform finish. If you're working on larger areas, consider using a paint roller for a more efficient and uniform application. Remember to work in manageable sections and use a smooth, continuous motion to avoid lap marks and achieve a professional-looking result.
Tips for Efficient and Clean Painting
For efficient and clean painting, ensure you have all necessary supplies and prepare the work area meticulously to minimize mess and maximize productivity. Start by gathering your cleaning tools such as rags, a bucket of soapy water, and a vacuum cleaner. Wipe down the walls and trim to remove dust and grime, and vacuum the floors to eliminate any debris that could affect the paint finish. This step is crucial for achieving a smooth and professional-looking result.
To minimize waste, consider using reusable paint trays and liners instead of disposable ones. Additionally, make sure to seal any leftover paint tightly to prevent it from drying out and becoming unusable. Properly storing your paint supplies can save you money and reduce environmental impact.
When painting, use drop cloths to protect floors and furniture from paint splatters. It's also a good idea to have some damp cloths on hand to quickly clean up any spills or drips before they've a chance to dry and become more difficult to remove.
Furthermore, work systematically from the top down, starting with the ceiling, then the walls, and finally the trim. This approach helps to catch any drips or splatters as you work your way down, minimizing the need for extensive cleaning afterwards.
Dealing With Common Painting Challenges
If you encounter common painting challenges, address them promptly to ensure a successful and professional-looking result.
When dealing with paint sheen issues, it's essential to understand the different types of paint finishes. For instance, high-gloss paints are reflective and durable but can highlight surface imperfections. If you're painting a wall with many dents or dings, consider using a lower sheen paint, such as eggshell or satin, to help disguise these flaws. Additionally, if you find yourself with an uneven sheen after painting, lightly sand the surface and apply a thin, consistent coat of paint to achieve a uniform finish.
Surface repairs are another common challenge when it comes to painting. Before starting your paint job, thoroughly inspect the surfaces for any cracks, holes, or peeling paint. Use spackling or joint compound to fill in any imperfections and sand the area smooth once it's dry. For larger repairs, consider using a patching compound or fiberglass tape to reinforce the area. Properly addressing surface repairs will ensure a seamless and professional-looking paint job.
Ensuring Long-Lasting and Durable Results
For long-lasting and durable results in your home improvement painting project, prioritize thorough surface preparation to ensure proper adhesion and a smooth finish.
Proper surface preparation is crucial for achieving optimal paint adhesion. Begin by cleaning the surfaces to remove any dirt, dust, or grease that could affect the paint's ability to adhere. Repair any cracks, holes, or imperfections in the surface with spackling or filler, and sand the surface to create a smooth and even base for the paint. This meticulous preparation will ensure that the paint adheres effectively, leading to a more durable and long-lasting finish.
In addition to focusing on paint adhesion, it's essential to consider surface protection. High-quality paint not only enhances the aesthetic appeal of your home but also provides a protective barrier against environmental elements. Choose a paint product that offers durability and resistance to wear and tear.
Additionally, consider applying a clear protective coat over the paint to safeguard it from scratches, moisture, and UV damage. This extra layer of protection can significantly extend the lifespan of your paint job, ensuring that it remains vibrant and intact for years to come.
Frequently Asked Questions
How Can DIY Home Improvement Painting Increase the Value of My Home?
Painting your home yourself can significantly increase its property value and market appeal. DIY home improvement painting enhances curb appeal, gives a fresh look, and allows you to personalize your space, ultimately raising your home's overall value.
What Are Some Creative Painting Techniques to Add Visual Interest to My Walls?
To add visual interest to your walls, try sponge painting for a textured look or create ombre walls by blending different shades of the same color. These creative painting techniques can bring a unique and stylish touch to your home.
Can DIY Painting Help Improve the Overall Aesthetics of My Home?
DIY painting can be a cost effective makeover that improves the aesthetics of your home. It allows you to personalize your space and add a fresh, modern touch to your walls without breaking the bank.
What Are Some Common Mistakes to Avoid When Painting the Interior or Exterior of a Home?
Proper preparation is key when painting. Avoid common mistakes by taking the time to clean and prime surfaces, and pay attention to detail by using the right tools and techniques. This will ensure a professional-looking finish.
How Can DIY Painting Projects Help Me Save Money in the Long Run?
By tackling DIY painting projects, you can save money in the long run. The initial investment in supplies and your time pays off with cost savings and long term benefits, as you enhance your home's appearance and value.
Conclusion
So, if you're looking to save money and take on a fun and rewarding project, DIY home improvement painting is the way to go.
With the right paint colors, proper surface preparation, and the right tools and techniques, you can achieve professional-looking results.
Plus, you'll have the satisfaction of knowing that you did it yourself.
So, roll up your sleeves, grab a paintbrush, and get ready to transform your living space with a fresh coat of paint!