
Easy DIY Home Improvement Projects for Beginners
This post may contain affiliate links which means I may receive a commission for purchases made through links. As an Amazon Associate, I earn from qualifying purchases. Learn more on my Private Policy page.
Tackling small home improvement projects can be a great way to add a personal touch to your living space and save on the cost of hiring professionals. You might be surprised by how much you can accomplish with just a few basic tools and a little bit of guidance.
Whether you’re looking to freshen up a room with a new coat of paint or add some modern technology to your home, there are plenty of beginner-friendly projects to get you started.
With the right approach, you’ll be able to give your home a mini-makeover without breaking the bank.
Painting Interior Walls
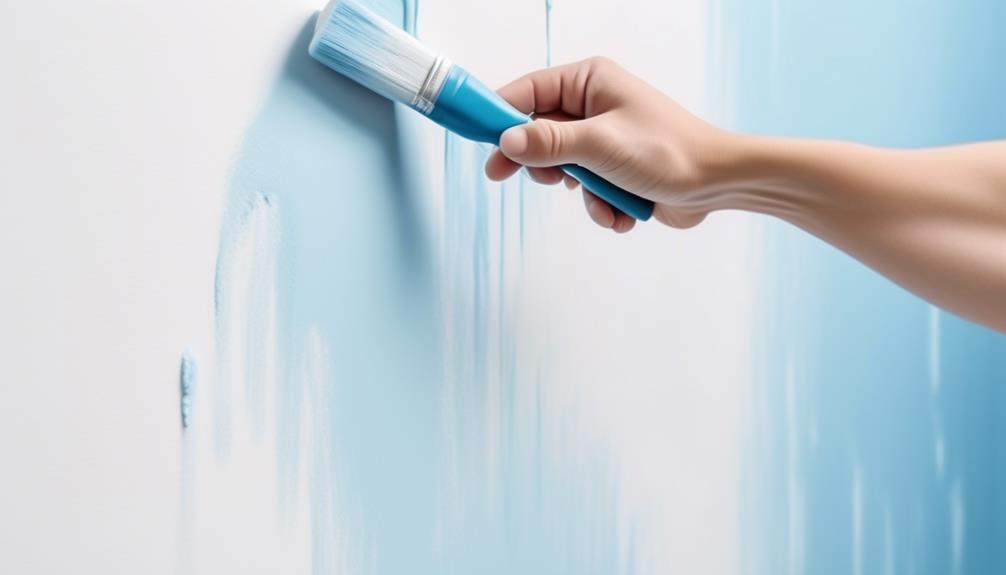
If you’re ready to give your home a fresh new look, painting interior walls is a great place to start. Choosing the right paint colors can transform the atmosphere of a room. When selecting colors, consider the mood you want to create. Lighter shades can make a space feel more open and airy, while darker hues can add a sense of coziness.
Proper brush techniques are essential for achieving a professional finish. Start by using a high-quality angled brush to cut in around the edges of the walls, ceiling, and trim. This precision work will create clean lines and make the overall job look more polished.
When it comes to actually painting the walls, using a roller is the most efficient method. Be sure to use an extension pole to reach high areas and work in small sections, rolling in a ‘W’ shape to evenly distribute the paint. Remember to work from top to bottom to catch any drips and ensure a smooth finish.
Installing Peel and Stick Backsplash
To take your home improvement skills to the next level, consider installing peel and stick backsplash as a stylish and practical addition to your kitchen or bathroom. Peel and stick backsplash is a fantastic way to enhance the look of your space without the mess and hassle of traditional tile installation. When choosing the perfect backsplash design, look for options that complement your existing decor and color scheme. Whether you prefer a classic subway tile pattern or a bold and colorful mosaic, there are countless designs to choose from to suit your style.
When it comes to installing peel and stick backsplash, proper adhesive application is crucial for a successful and long-lasting result. Start by thoroughly cleaning the area where the backsplash will be applied to ensure it’s free from dust, grease, and debris. Measure and cut the peel and stick tiles to fit the space, using a utility knife or scissors as needed. Then, carefully remove the backing and press the tiles onto the wall, ensuring they’re straight and properly aligned. Take your time to smooth out any air bubbles and ensure a secure bond.
Once the peel and stick backsplash is in place, consider using a silicone caulk to seal the edges and corners for a polished look and added durability.
With a little time and effort, you can transform your kitchen or bathroom with a beautiful peel and stick backsplash that adds both style and functionality to your space.
Upgrading Cabinet Hardware
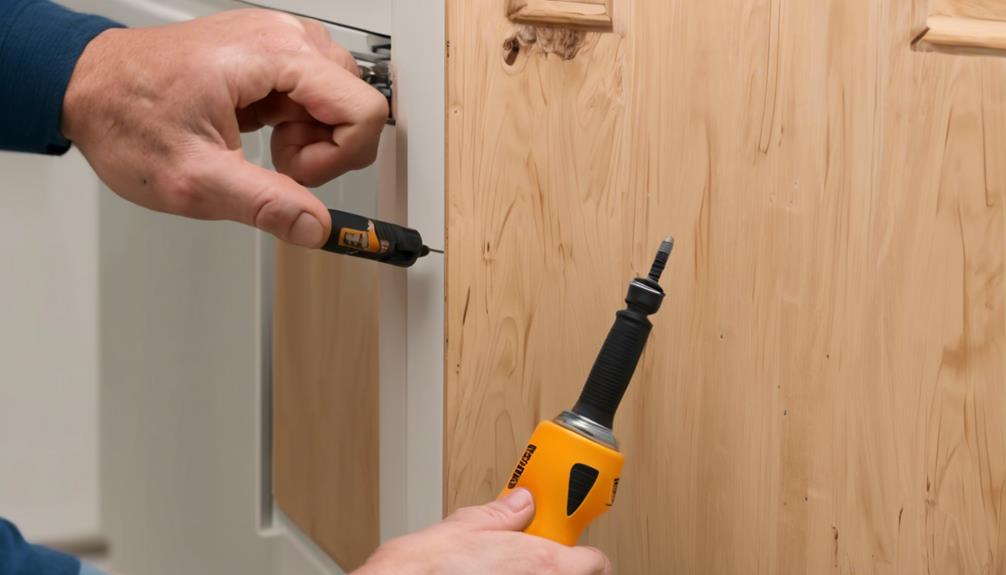
Consider enhancing your kitchen or bathroom by upgrading the cabinet hardware, a simple yet impactful way to refresh the look and feel of the space. By making this easy upgrade, you can give your cabinets a fresh new appearance without the need for a complete overhaul.
Here are a few tips to guide you through the process:
- Cabinet Organization: Before upgrading your cabinet hardware, take the opportunity to reorganize the contents of your cabinets. Decluttering and reorganizing won’t only create a more functional space but will also allow you to assess the condition of your cabinets and determine if any repairs are needed before installing new hardware.
- Hardware Trends: Stay up to date with the latest hardware trends to ensure that your upgrade complements the overall style of your kitchen or bathroom. Sleek, modern handles and knobs can provide a contemporary touch, while vintage or antique hardware can add character to a more traditional space. Explore different finishes such as brushed nickel, matte black, or brass to find the perfect match for your cabinet style.
- Installation: When installing the new hardware, ensure that you have the necessary tools and hardware on hand. Measure carefully to ensure that the new hardware aligns with existing holes or make any adjustments as needed. A template can be helpful for drilling new holes and ensuring that the hardware is uniformly placed across all cabinets.
Installing a Smart Thermostat
Upgrade your home’s energy efficiency by installing a smart thermostat, a simple yet impactful way to modernize your heating and cooling system while complementing the overall style of your living space. Smart thermostats offer advanced technology integration, allowing you to control your home’s temperature remotely and even create personalized heating and cooling schedules. These devices can learn your habits and adjust the temperature accordingly, leading to significant energy savings over time.
Installing a smart thermostat is a beginner-friendly DIY project that can make a real difference in your home. The first step is to choose a compatible smart thermostat model based on your heating and cooling system. Most smart thermostats are designed to be user-friendly, with clear instructions for installation. Ensure that you turn off the power to your HVAC system before beginning the installation process. Once the old thermostat is removed, follow the manufacturer’s instructions to connect the wiring to the new smart thermostat.
After the installation is complete, download the corresponding app on your smartphone to start enjoying the full benefits of your new smart thermostat. Through the app, you can monitor your energy usage, adjust the temperature remotely, and receive energy usage reports. Some smart thermostats even integrate with voice assistants for hands-free control.
Creating a Gallery Wall
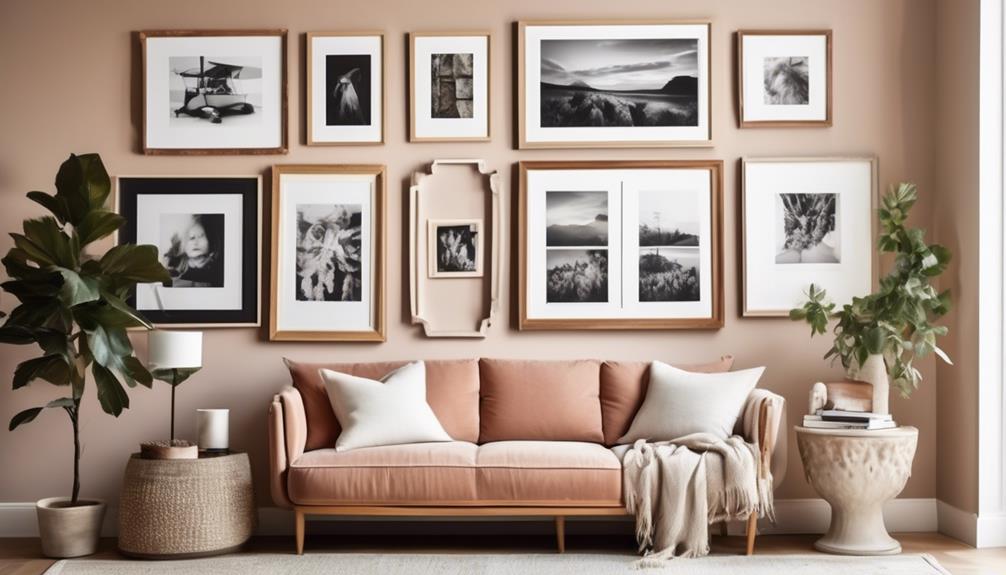
Enhance your home’s decor with a captivating gallery wall showcasing your favorite artwork and photos. Creating a gallery wall is a fantastic way to personalize your space and add visual interest to any room. Here are three simple steps to help you create a stunning gallery wall:
- Choosing Artwork: Begin by selecting a variety of artwork, including paintings, prints, and photographs, that reflect your personal style and complement the existing decor of your home. Consider mixing different sizes, shapes, and textures to create a dynamic and visually appealing display. Whether it’s a collection of family photos, vintage prints, or contemporary paintings, choose pieces that resonate with you and evoke a sense of joy and inspiration.
- Arranging Frames: Once you have gathered your artwork, lay the pieces out on the floor to experiment with different arrangements. Play around with the placement of each frame until you find a layout that’s visually balanced and cohesive. Keep in mind that the gallery wall should serve as a unified composition, so take your time to find the right arrangement that best highlights each individual piece while contributing to the overall aesthetic of the display.
- Hanging the Artwork: After finalizing the arrangement, it’s time to transfer it to the wall. Use a mix of frame sizes and shapes to create a visually appealing display. Consider using templates or craft paper to map out the arrangement on the wall before making any holes. Once you’re satisfied with the layout, hang each piece, ensuring they’re properly leveled and spaced to create a polished and professional look.
Refinishing Furniture
Refinish your old furniture to give it a fresh, modern look that revitalizes your living space and reflects your personal style. With wood staining techniques, you can transform a tired, old piece into a stunning focal point. Start by sanding the surface to remove the existing finish, then choose a stain that complements your décor. Apply the stain evenly and wipe off any excess for a professional-looking result.
You can also experiment with furniture distressing to create a trendy, shabby-chic vibe. Use sandpaper to gently wear down edges and corners, giving the piece a weathered appearance.
If you’re feeling crafty, consider furniture upholstery. Reupholstering a chair or sofa is a great way to breathe new life into worn-out pieces. Choose a durable, stylish fabric and carefully remove the old upholstery before stapling on the new material. This simple update can completely transform the look of your furniture.
Additionally, furniture repurposing is a creative way to give new purpose to old items. An old dresser can become a stylish bathroom vanity with a fresh coat of paint and a new sink, or a ladder can be repurposed as a unique bookshelf.
Refinishing furniture is a rewarding DIY project that allows you to unleash your creativity while giving your home a budget-friendly makeover. Whether you’re refinishing, distressing, upholstering, or repurposing, these techniques will breathe new life into your old furniture.
Installing a Programmable Doorbell

After revitalizing your old furniture with refinishing and upholstery techniques, you may want to consider installing a programmable doorbell to enhance the functionality and convenience of your home. A programmable doorbell allows you to customize chimes for different doors or set specific tones for different times of the day.
Here are three simple steps to guide you through the process:
- Choose the Right Doorbell: Start by selecting a programmable doorbell kit that suits your needs. Look for one with easy installation instructions and a variety of chime options. Consider whether you want a wireless or wired doorbell system based on your home’s layout and your personal preferences.
- Installation Process: Follow the manufacturer’s instructions for installing the programmable doorbell. This typically involves mounting the doorbell button near your front door and attaching the receiver inside your home. Ensure that the chosen location for the doorbell button is easily accessible and visible to visitors.
- Customization and Troubleshooting: Once the doorbell is installed, take some time to customize the chimes to your liking. Most programmable doorbells offer a range of melodies and volume settings. If you encounter any issues, refer to the troubleshooting section of the manual or contact customer support for assistance.
Installing a programmable doorbell is a great way to add a modern touch to your home while also enhancing its functionality. With just a few simple steps, you can enjoy the convenience and personalization that a programmable doorbell offers.
Building Floating Shelves
When building floating shelves, ensure that you have the necessary tools and materials before beginning the installation process. The design of your floating shelves will depend on your personal style and the intended use of the shelves. Consider whether you want simple straight lines, a more intricate design, or something in between. Once you have settled on a design, you’ll need to gather the appropriate materials.
Typically, floating shelves are made from wood, but you can also find options made from materials like glass or metal. Choose materials that will complement the overall aesthetic of the room where the shelves will be installed.
For a basic wooden floating shelf, you’ll need the following materials: wooden boards cut to the desired length, wood screws, a stud finder, a level, and wall anchors if the shelves won’t be installed directly into studs. The tools required for this project include a drill, screwdriver, and a saw if you need to cut the wooden boards to size.
Before you start the installation process, double-check that you have all the necessary tools and materials on hand. Building floating shelves can be a simple and rewarding DIY project, adding both functionality and style to your living space.
Frequently Asked Questions
What Are Some Common Mistakes to Avoid When Painting Interior Walls?
When painting interior walls, avoid common mistakes like skipping proper surface preparation. It’s important to clean and prime the walls before painting to ensure a smooth and long-lasting finish. Don’t rush this step!
How Do You Properly Prepare the Surface Before Installing Peel and Stick Backsplash?
Before installing peel and stick backsplash, start by cleaning the surface thoroughly to ensure proper adhesion. Plan the tile layout and use a sharp utility knife to cut the tiles to fit around obstacles.
What Are Some Tips for Choosing the Right Cabinet Hardware for a Kitchen or Bathroom?
When choosing finishes for cabinet hardware in the kitchen or bathroom, consider the overall style and color scheme. Look for hardware styles that complement the design, such as modern, traditional, or rustic, to achieve a cohesive look.
Can a Smart Thermostat Be Installed Without Professional Help?
Yes, you can install a smart thermostat without professional help. Make sure to check for smart thermostat compatibility with your HVAC system. Follow the DIY thermostat installation instructions carefully, and you’ll be able to do it yourself.
What Are Some Creative Ideas for Arranging a Gallery Wall?
When creating a gallery wall, consider a cohesive color scheme and equal spacing. Mix frame styles for visual interest. Use hanging techniques like paper templates or adhesive strips for easy adjustments.
Conclusion
In conclusion, these easy DIY home improvement projects are perfect for beginners looking to spruce up their living space.
With a little bit of time and effort, you can transform your home with a fresh coat of paint, updated hardware, and modern technology.
These projects are a great way to add your personal touch to your home and make it feel like new.
So, grab your tools and get ready to tackle these simple and satisfying home improvement projects!