6 Best Home Lighting Solutions for Professional Photography
This post may contain affiliate links which means I may receive a commission for purchases made through links. As an Amazon Associate, I earn from qualifying purchases. Learn more on my Private Policy page.
Have you ever felt like your home photography just doesn't have that professional touch? Well, fear not, as we have compiled a list of the six best lighting solutions that will elevate your photography game to the next level.
From utilizing natural light to investing in softbox lighting, these solutions will help you achieve the perfect lighting setup for your home studio. Whether you're a seasoned photographer or just starting out, these tips are bound to transform your images and make your subjects shine like never before.
Natural Light
If you're aiming for a simple and cost-effective lighting solution, natural light can be your best ally in photography. Window lighting is a fantastic option for indoor photography. The soft, diffused light that comes through a window can create beautiful, flattering images. To make the most of window lighting, position your subject near a window where the light is indirect. This will help avoid harsh shadows and create a more even lighting effect on your subject's face.
When it comes to outdoor photography, morning sunlight and the golden hour are prime times to capture stunning images. The morning sunlight has a softer, more delicate quality that can add a unique touch to your photos. During the golden hour, which occurs during the first and last hour of sunlight in the day, the light is warm, diffused, and perfect for creating a magical ambiance in your images. Make sure to plan your shoots around these times to take advantage of the beautiful natural light available.
Experimenting with natural light in your photography can lead to some truly remarkable results. Whether you're shooting indoors with window lighting or taking advantage of the morning sunlight and golden hour outdoors, harnessing natural light is a skill that can elevate your photography to the next level.
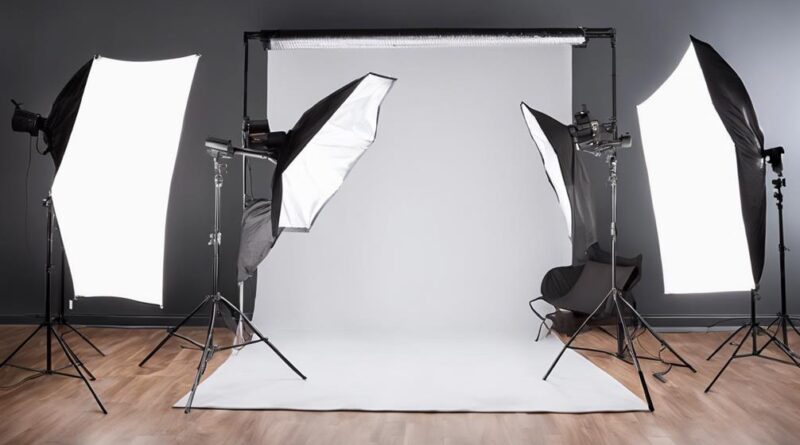
Softbox Lighting
To enhance your photography with softbox lighting, consider investing in a quality softbox kit for professional results. Softbox lighting offers a versatile and adjustable way to control light for your photography needs. When using softboxes, there are several techniques and photography tips to keep in mind to maximize their effectiveness.
Softbox techniques involve positioning the light source to create the desired effect. Placing the softbox at different angles can help achieve various lighting styles, such as Rembrandt or butterfly lighting. Experimenting with the distance between the softbox and the subject can also impact the intensity and softness of the light.
When comparing softbox lighting to natural light, there are distinct advantages to using softboxes. While natural light can be beautiful, it's often unpredictable and uncontrollable. Softboxes, on the other hand, allow you to have precise control over the direction, intensity, and quality of the light. This control is essential for consistent and professional-looking photography.
LED Panel Lights
Consider incorporating LED panel lights into your photography setup for versatile and efficient lighting solutions. LED panel lights offer a great way to control the color temperature of your lighting, ensuring that you can achieve the perfect lighting conditions for your photoshoot. These lights are available in a range of color temperatures, allowing you to easily adjust from warm to cool tones depending on your creative vision.
One of the key advantages of LED panel lights is their energy efficiency. Compared to traditional lighting sources, LED panels consume significantly less power while still providing bright and consistent illumination. This not only helps you save on energy costs but also makes them a more sustainable choice for your photography setup.
LED panel lights are also known for their durability and longevity. With a longer lifespan than many other lighting options, you can rely on LED panels to continue producing high-quality light for your photography projects for years to come. Additionally, these lights are often designed to be lightweight and portable, making them easy to set up and adjust to suit your specific needs.
Ring Lights
Ring lights provide a soft and even illumination that's ideal for portrait photography and capturing captivating eye-catching images. These circular lights are popular among photographers for the flattering light they produce on the subject's face, reducing harsh shadows and providing a distinct catchlight in the eyes.
Advantages of Ring Lights:
- Even Lighting: Ring lights offer uniform illumination, perfect for achieving a balanced look in your photos.
- Portability: They're lightweight and easy to set up, making them convenient for various shooting locations.
- Ring Light Dimming: Adjust the brightness of the light to suit different shooting conditions and moods.
- Ring Light Accessories: Enhance your photography with additional accessories like diffusers or color filters for creative effects.
Ring lights are versatile tools that can elevate your photography to the next level. They aren't only great for portraits but also for macro photography, beauty shots, and even video recording. Consider adding a ring light to your home studio setup for professional-looking results.
Umbrella Lights
For a versatile and soft lighting solution in photography, umbrella lights offer a practical and effective way to illuminate your subjects. These lights are popular among photographers for their ability to create a gentle and even spread of light, reducing harsh shadows and providing a flattering look to your images.
One of the key advantages of umbrella lights is their compatibility with various light modifiers. By using umbrellas in combination with diffusers or reflectors, you can further control the intensity and direction of the light, allowing you to achieve different lighting effects for your photos. Whether you need to soften the light for portraits or create more contrast for product photography, umbrella lights can be easily adapted to suit your specific needs.
When using umbrella lights, consider different lighting techniques to enhance your images. For example, you can experiment with the distance between the umbrella and your subject to adjust the light's softness or play around with the angles to create interesting shadows and highlights. By mastering these lighting techniques, you can elevate the quality of your photography and bring out the best in your subjects.
Light Stands
Light stands provide stability and adjustability for positioning your lighting equipment during photography sessions. When choosing light stands for your home photography setup, consider key features like height adjustability, stability, weight capacity, and portability to ensure they meet your needs effectively.
- Height Adjustability: Opt for light stands that offer a wide range of height adjustments. This feature allows you to customize the positioning of your lights based on the desired lighting effects for your photoshoots.
- Stability: Look for light stands with sturdy construction and solid bases to prevent accidental tipping over. Stability is crucial, especially when using heavier lighting equipment or when shooting in high-traffic areas.
- Weight Capacity: Check the weight capacity of the light stands to ensure they can securely support your lighting gear. Exceeding the weight limit can lead to instability and potential damage to your equipment.
- Portability: Choose light stands that are lightweight and easy to transport. Portability is essential for photographers who work on location or need to set up and break down their equipment frequently.
Colored Gels
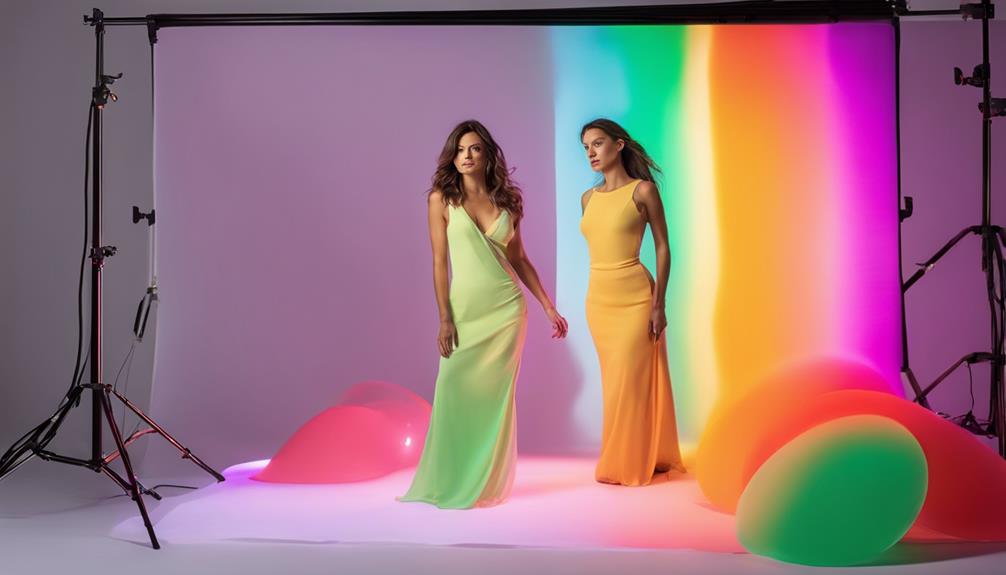
When enhancing your photography with colored gels, consider the impact they can have on the mood and tone of your images. Colored gels are transparent sheets that can be placed in front of light sources to alter the color temperature and create various creative effects in your photos. Understanding how colored gels work with different light sources is essential in achieving the desired results.
Color temperature is a crucial aspect to consider when using colored gels. Different light sources have varying color temperatures, measured in Kelvin. By using colored gels, you can adjust the color temperature of your lights to match the ambient lighting or create a specific mood. For instance, using a blue gel on a warm incandescent light can simulate moonlight, while a red gel can add warmth to a cool-toned LED light.
In addition to adjusting color temperature, colored gels offer a range of creative effects. Experimenting with different colors can evoke various emotions and enhance the overall atmosphere of your images. For example, using a green gel can create a mysterious or eerie feel, while a pink gel can add a romantic touch. Combining multiple colored gels can result in unique and visually striking compositions.
DIY Light Diffusers
Enhancing your photography setup, consider exploring DIY Light Diffusers to control and soften the intensity of your light sources for more balanced and flattering illumination in your images. DIY diffuser techniques offer a cost-effective way to enhance your creative lighting setups, allowing you to manipulate light to achieve the desired effect in your photographs.
- Parchment Paper: Attach parchment paper to a frame or directly over your light source to create a soft, diffused light that reduces harsh shadows.
- White Bedsheets: Use white bedsheets as makeshift diffusers by hanging them in front of your light sources to create a gentle and even illumination.
- Frosted Shower Curtain: Repurpose a frosted shower curtain as a diffuser by placing it between your subject and the light source to achieve a soft, glowing light effect.
- Plastic Milk Jugs: Cut and repurpose plastic milk jugs as diffusers by placing them over your lights to create a soft and flattering light for your photography subjects.
Experiment with these DIY diffuser techniques to elevate your photography game without breaking the bank. By incorporating these creative lighting setups, you can achieve professional-looking results in your images while showcasing your ingenuity and resourcefulness.
Frequently Asked Questions
What Are the Best Lighting Solutions for Outdoor Photography?
When you're out taking photos, think about the light around you. Natural lighting can give your outdoor shots a beautiful and authentic look.
Consider how the light hits your subject. Backlighting can create dramatic silhouettes, while sidelighting can add depth and texture.
Experiment with different angles to see what works best for your outdoor photography. Remember, lighting plays a crucial role in capturing stunning outdoor images.
How Can I Effectively Light a Large Group of People for a Group Photo?
When it comes to group posing, using appropriate lighting equipment is key. Make sure to position your lights strategically to evenly illuminate everyone in the group.
Softboxes or umbrella lights can help create a flattering light that minimizes harsh shadows. Consider using multiple light sources to ensure everyone is well-lit.
Experiment with different angles and distances to find the most flattering lighting setup for your group photo.
Are There Any Specific Lighting Techniques for Capturing Movement or Action Shots?
When capturing movement or action shots, creative lighting is key. To freeze frames, use high-speed sync or fast shutter speeds. This will help you stop motion and avoid blur.
For a dynamic effect with motion blur, experiment with slower shutter speeds and panning techniques. By adjusting your lighting setup and camera settings, you can achieve striking action shots that capture the energy and excitement of the moment.
How Can I Prevent Harsh Shadows and Glare When Using Artificial Lighting?
To prevent reflections and soften shadows when using artificial lighting, try diffusing the light source with a softbox or umbrella.
Positioning the light at different angles can also help reduce harsh shadows.
Adjusting the distance between the light and the subject can further control the intensity of shadows.
Experiment with various setups to find the best balance between lighting direction and diffusion for your photography needs.
What Are Some Advanced Lighting Setups for Achieving Specific Artistic Effects in Photos?
When going for specific artistic effects in photos, consider creative backlighting to add depth and drama to your shots. Experiment with positioning lights behind your subject to create silhouettes that evoke mood and mystery.
Conclusion
Now that you know the best home lighting solutions for professional photography, you can easily create stunning images right in your own space.
Whether you prefer natural light or artificial lighting options like softboxes or LED panels, there are plenty of choices to suit your needs.
Experiment with different setups and find what works best for your unique style and subjects.
With the right lighting equipment, your photography skills are sure to shine.