7 Best Easy-to-Start Home Improvement DIY Projects
This post may contain affiliate links which means I may receive a commission for purchases made through links. As an Amazon Associate, I earn from qualifying purchases. Learn more on my Private Policy page.
Feeling like your home could use a serious facelift but don't know where to start? Look no further.
There are 7 top-notch, easy-to-tackle home improvement projects that will have you feeling like a DIY pro in no time.
From refreshing your walls with a new coat of paint to adding a touch of elegance with crown molding, these projects are sure to elevate your space.
So, if you're ready to take your home to the next level without breaking a sweat, keep on reading.
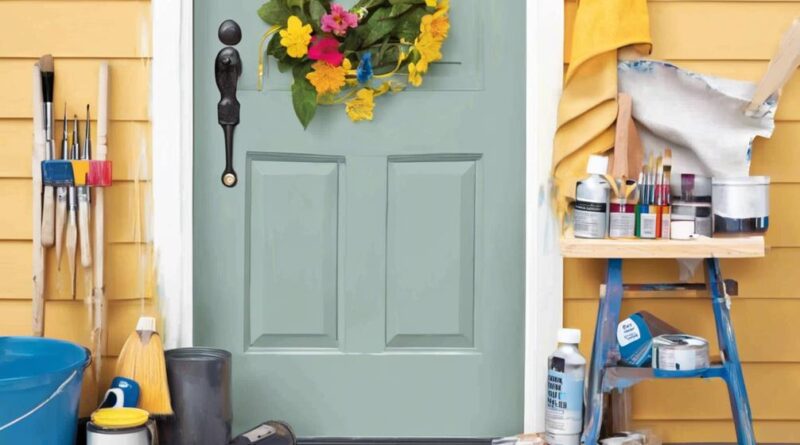
Painting Interior Walls
Looking to give your home a fresh new look? Painting interior walls is a simple and cost-effective DIY project that can make a big impact. When it comes to choosing paint colors, consider the mood you want to create in each room. Soft, neutral tones like beige or light gray can make a space feel calm and inviting, while bold colors like navy or emerald green can add drama and personality. Take into account the natural light in the room and how the color will complement your furniture and decor.
Once you've settled on your color scheme, it's time to prepare the walls.
Before diving into painting, proper wall preparation is crucial for a smooth and professional-looking finish. Start by cleaning the walls to remove any dirt, dust, or grease. Repair any cracks or holes with spackle and sand them smooth once dry. Use painter's tape to protect trim, ceilings, and any areas you don't want to be painted. It's also a good idea to prime the walls, especially if you're making a drastic color change or if the walls are stained or damaged.
Installing a Tile Backsplash
Consider enhancing your kitchen or bathroom with a stylish and practical tile backsplash. This DIY project can transform the look of your space and add a protective layer to your walls.
Here's how to go about it:
- First, prepare the area by cleaning the wall and ensuring it's smooth and free of any debris.
- Remove any outlet covers and apply a waterproof membrane if needed to protect the wall from moisture.
- Next, plan the layout of your tiles.
- Start by finding the center of the wall and use spacers to evenly distribute the tiles. This step will help ensure a balanced and professional-looking finished product.
When it comes to grouting techniques, it's important to let the tile adhesive set for the recommended time before grouting. Apply the grout with a rubber float, pressing it into the spaces between the tiles at a 45-degree angle. Once the grout begins to set, wipe off any excess with a damp sponge, being careful not to remove too much grout from the joints.
For tile layout, consider using a tile saw to ensure precise cuts and a perfect fit. Remember to wear safety goggles and gloves when using the saw. Lay out the tiles on a flat surface and mark any cuts with a pencil before carefully cutting them to size.
Refinishing Kitchen Cabinets
To refinish your kitchen cabinets, start by removing the cabinet doors and hardware to prepare them for the refinishing process. Once you've done this, you can begin exploring different cabinet refinishing techniques to give your kitchen a fresh new look. One popular method is sanding down the existing finish to create a smooth surface for the new finish. Another option is using a chemical stripping agent to remove the old finish. Both methods require careful attention to detail and the use of proper safety equipment.
When considering the color for your newly refinished cabinets, it's helpful to be aware of current kitchen cabinet color trends. Neutral colors like white, gray, and navy blue are timeless choices that can give your kitchen a modern and clean look. However, if you're feeling more adventurous, you might consider bold colors like forest green or deep red to make a statement in your kitchen. Whatever color you choose, make sure it complements the overall design and color scheme of your kitchen.
After refinishing and painting your cabinets, don't forget to update the hardware for a complete transformation. New knobs, handles, or pulls can add a finishing touch that ties the whole look together. Refinishing your kitchen cabinets is a rewarding DIY project that can breathe new life into your kitchen space.
Creating a Gallery Wall
After transforming your kitchen cabinets with a fresh new look, the next step is to explore the creative process of creating a gallery wall in your home. A gallery wall is a fantastic way to showcase your personality and style, and it can easily become the focal point of any room.
Here's how you can create a stunning gallery wall in your home:
- Choose Your Wall:
- Select a prominent wall in your living room, hallway, or bedroom. This will serve as the perfect backdrop for your gallery wall and allow it to stand out as a captivating feature in your home.
- Select Your Wall Art and Picture Frames:
- Pick a variety of wall art pieces that speak to you personally. This could include framed photographs, paintings, prints, or even decorative wall sculptures. Choose a mix of sizes, shapes, and styles to create visual interest. Additionally, select an assortment of picture frames that complement each other and your chosen wall art. Mixing and matching different frame designs can add a unique touch to your gallery wall.
When selecting wall art and picture frames, consider the overall aesthetic and color scheme of your room to ensure that your gallery wall seamlessly integrates with the existing decor.
With these tips in mind, you're ready to start curating and arranging your gallery wall to transform your space into a personalized and visually appealing showcase of your favorite art and memories.
Building a Raised Garden Bed
Looking to add a practical and attractive feature to your backyard? Building a raised garden bed is a fantastic DIY project that can enhance the aesthetic appeal of your outdoor space while providing a dedicated area for growing your favorite plants.
To start, select a sunny spot with good drainage for your garden bed. Begin by preparing the soil, ensuring it's well-draining and nutrient-rich. Consider adding compost or organic matter to improve soil quality. When it comes to plant selection, choose a variety of vegetables, herbs, or flowers that thrive in your climate and suit your preferences.
For watering techniques, it's essential to keep the soil consistently moist, especially during hot weather. Consider installing a drip irrigation system or regularly hand-watering your plants. Additionally, implementing mulch can help retain moisture and suppress weed growth.
As for pest control, inspect your plants regularly for any signs of pests or diseases. Consider using natural pest deterrents or organic pesticides to protect your garden without harming the environment or beneficial insects.
Building a raised garden bed provides a manageable way to cultivate a flourishing garden while minimizing the effort needed for traditional ground-level gardening. With proper soil preparation, thoughtful plant selection, effective watering techniques, and vigilant pest control, you can create a beautiful and productive garden that enhances your outdoor living space.
Installing a Smart Thermostat
Consider upgrading your home's heating and cooling system by installing a smart thermostat for improved energy efficiency and convenience. With a smart thermostat, you can easily regulate the temperature of your home from anywhere using your smartphone, ensuring that you only use energy when needed.
Here's what you need to know before getting started:
- Benefits of Energy Efficiency:
- Smart thermostats are designed to optimize energy usage, potentially saving you money on your utility bills.
- They can learn your schedule and preferences, automatically adjusting the temperature to conserve energy when you're away.
- Technology Integration:
- Smart thermostats can integrate with other smart home devices, allowing you to create a fully connected and automated home environment.
- Many smart thermostats offer compatibility with voice assistants like Amazon Alexa or Google Assistant, enabling you to control the temperature using voice commands.
Installing a smart thermostat is a relatively simple DIY project that can have a significant impact on your home's energy efficiency. By taking advantage of the latest technology, you can't only reduce your environmental footprint but also enjoy the convenience of a seamlessly integrated home heating and cooling system.
Adding Crown Molding
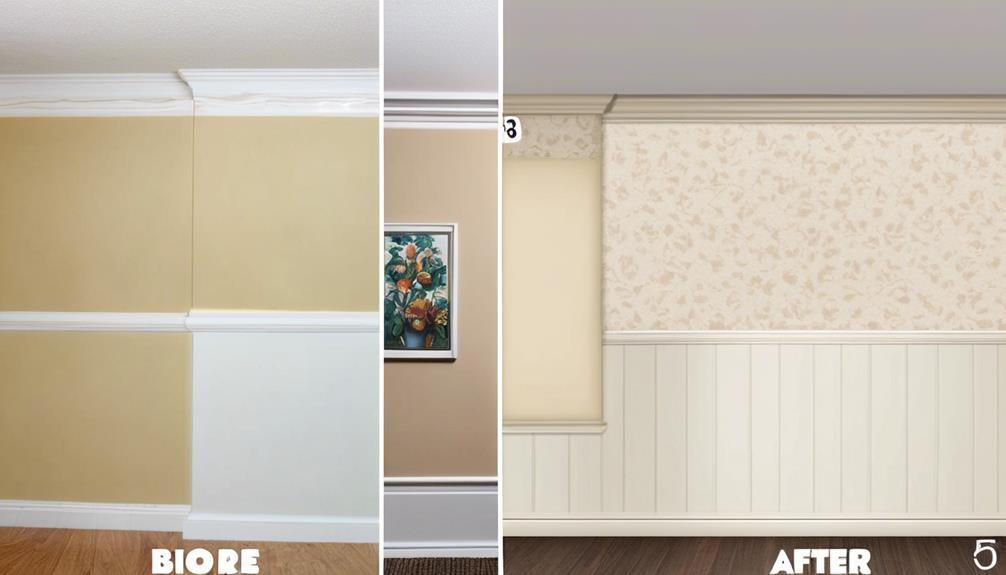
To enhance the aesthetic appeal of your home, consider adding crown molding to give your rooms a touch of elegance and sophistication. Crown molding design plays a crucial role in transforming the look and feel of a space. When selecting a design, consider the architectural style of your home and the desired aesthetic. Traditional crown molding features intricate details and curves, while contemporary designs are often simpler and sleeker. Choose a design that complements the overall decor of the room for a cohesive look.
When it comes to crown molding installation techniques, there are a few key considerations to keep in mind. Proper measurements are essential for a seamless installation, so be sure to accurately measure the length of each wall and the angles of the corners. Cutting the molding at precise angles is crucial for achieving a professional finish. For inside corners, a miter saw can be used to create precise 45-degree cuts, while coping saws are ideal for achieving seamless joints on outside corners. Additionally, using a high-quality adhesive and nails will ensure that the crown molding stays securely in place.
Upgrading Cabinet Hardware
Consider enhancing your kitchen or bathroom by updating the cabinet hardware with new handles, knobs, or pulls. This simple upgrade can make a significant impact on the overall look and feel of the space, giving it a fresh and modern appeal.
When considering this project, keep in mind the following:
- Cabinet Organization
Upgrading cabinet hardware provides an opportunity to improve organization within your kitchen or bathroom. Choose handles and pulls that aren't only aesthetically pleasing but also functional. Opt for hardware that makes it easier to open and close cabinets, and consider adding label holders for a more organized look. This small change can have a big impact on the overall efficiency of your space.
- Hardware Trends
Stay updated with the latest hardware trends to ensure your cabinets are in line with current styles. Sleek and minimalistic designs are currently on-trend, with many homeowners opting for simple and elegant hardware options. Matte black and brushed brass finishes are also gaining popularity, adding a touch of sophistication to any space. Consider experimenting with different shapes and sizes to find the perfect fit for your cabinets.
Frequently Asked Questions
What Are Some Common Mistakes to Avoid When Painting Interior Walls?
When painting interior walls, avoid common mistakes like choosing paint colors hastily and not properly prepping walls. Use proper technique and choose the right tools. Take your time to ensure a smooth, professional finish.
How Do I Properly Seal and Grout the Tiles When Installing a Tile Backsplash?
When installing a tile backsplash, start by choosing the right adhesive and carefully placing the tiles. Proper grouting techniques are crucial for a professional finish. Ensure precise tile cutting and follow instructions for sealing and grouting to complete the project.
What Are the Best Methods for Removing Old Finish and Preparing Kitchen Cabinets for Refinishing?
To prepare kitchen cabinets for refinishing, start by stripping the old finish. Then, sand the cabinets thoroughly to create a smooth surface for the new finish. This process will ensure a clean and professional-looking result.
How Do I Determine the Best Layout and Spacing for a Gallery Wall?
To determine the best layout and spacing for a gallery wall, start by measuring the wall and laying out your art on the floor. Then, use painter's tape to mark the layout on the wall before hanging art and wall decorations.
What Type of Soil and Drainage Should I Use When Building a Raised Garden Bed?
When building a raised garden bed, use well-draining soil to prevent waterlogging. Incorporate sand and compost for good water retention. Add a layer of gravel at the bottom for proper drainage. This will promote healthy plant growth.
Conclusion
Now that you have some easy-to-start DIY home improvement projects, it's time to roll up your sleeves and get to work. These projects are perfect for beginners and can make a big impact on your home's appearance and functionality.
So grab your paintbrush, drill, or hammer and start transforming your space today. With a little time and effort, you can create a home you'll love to show off to friends and family.
Happy DIY-ing!